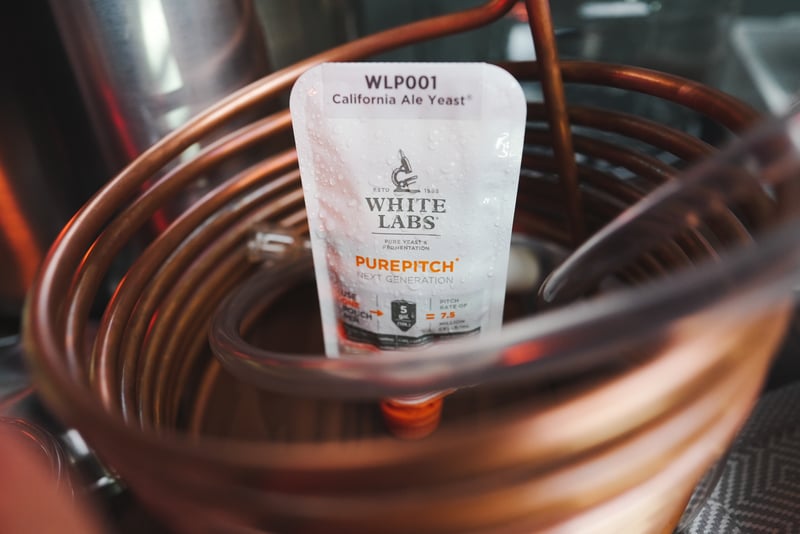
While White Labs PurePitch® Next Generation for Homebrewers comes with the cell count for a foolproof fermentation every batch. By pitching the same cell count every time creates a better likelihood of having the same beer flavor profile and fermentation timeline. Yet there are times when you may want or need to make a yeast starter, such as using an older package or brewing a bigger beer.
Viability designed to last.

With over 25 years of innovation, we have increased our cell viability by 32%. Through our 21-day FlexCell propagation process and our packaging technology, we are able to offer 94.9% cell viability after 6 months with PurePitch® Next Generation Homebrew.
A yeast starter can be helpful as it allows you to ensure your yeast is in an active state when pitching and will generally lead to a shorter lag time.
We created PurePitch® Next Generation Homebrew for ease of use for you! Use the entire pouch for a Professional recommendation of an Ale Pitch rate (0.75 million cells/mL) per 5 gallons. Or aseptically use some of the pouches for a starter and save some for later use up until the best-by date.
 Follow along while we break down a step-by-step process of making a starter.
Step 1: Gather Your Supplies
- 150 grams of DME (Dry Malt Extract)
- One 2-liter flask
- Stir Plate
- Stir Bar
- Sanitizer
- Yeast
Step 2: Sanitize
Sanitization is key when it comes to handling yeast and making starters and beer. A starter is full of nutrients your yeast (and any other microorganisms) need to replicate and begin metabolism which means if there are any other contaminating organisms present, it’s likely to become a problem when fermenting your beer.
There are many food-grade and no-rinse sanitizers such as StarSan. Check your local homebrew shop to see what’s available.
Step 3: Boil DME
Boil 150 grams of dry malt extract in 1.5 liter of water aiming for about 1.037 Specific Gravity. Be cautious of scorching the extract as you bring to a boil and allow the solids to dissolve fully. You may choose to add additional yeast nutrients such as White Labs Yeast Nutrient or Servomyces at this stage as well.
Step 4: Cool and Add Yeast
Ensure the solution is cooled to room temperature. Once cooled, as aseptically as possible, add the yeast. A spray bottle of isopropanol or StarSan is suggested to spray down any surfaces or materials that may come into contact with yeast, including your hands or gloves.
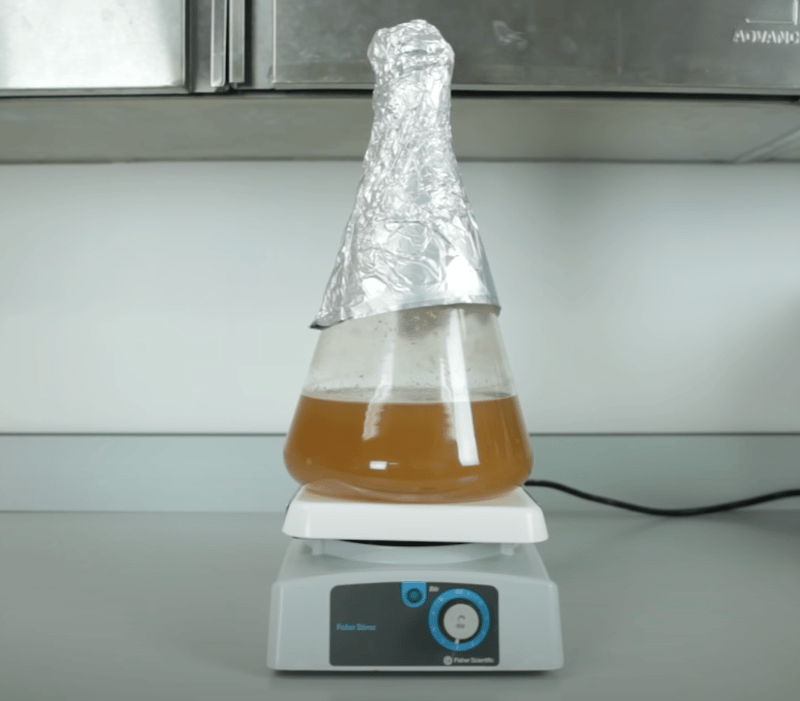
Step 5: Cover Flask and Turn on Stir Plate
In this step, you want to ensure the yeast continues to get a healthy dose of oxygen and remain aerobic. This will allow the yeast to build their cell walls and prepare for the stressful environment of fermentation.
Make sure the flask cover is loose to promote gas exchange. Allow your starter to stir for 24 hours, and then pitch directly to your full volume of wort. You may also refrigerate and then decant but it’s recommended to use your starter as quickly as possible.
Tips:
- Use a yeast calculator for an estimated pitch rates.
- A stir plate can increase the growth rate of your yeast, but it's not strictly necessary. You can also shake the flask periodically to keep the yeast in suspension.
- If you're reusing yeast from a previous batch, sanitize any equipment that will come into contact with the yeast to avoid contamination.
While a yeast starter may not be necessary with lab-grown yeast, it can be a fun way to manage your yeast culture and ensure an active culture. Happy Brewing!


